How to create a journey in Adora
Overview
Journeys map how users move through your product, built from real user sessions. This article walks through creating a journey in the journey builder — from picking your start and end points to adding steps, adjusting path settings, and comparing journeys side by side.
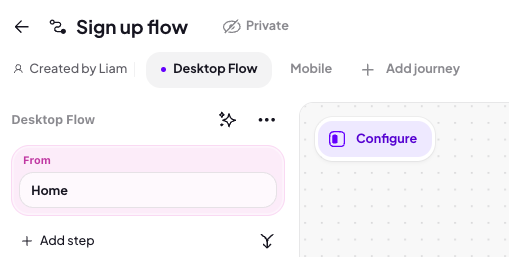
When you click Create a journey, you go straight into the journey builder. All configuration happens in the panel on the left-hand side.
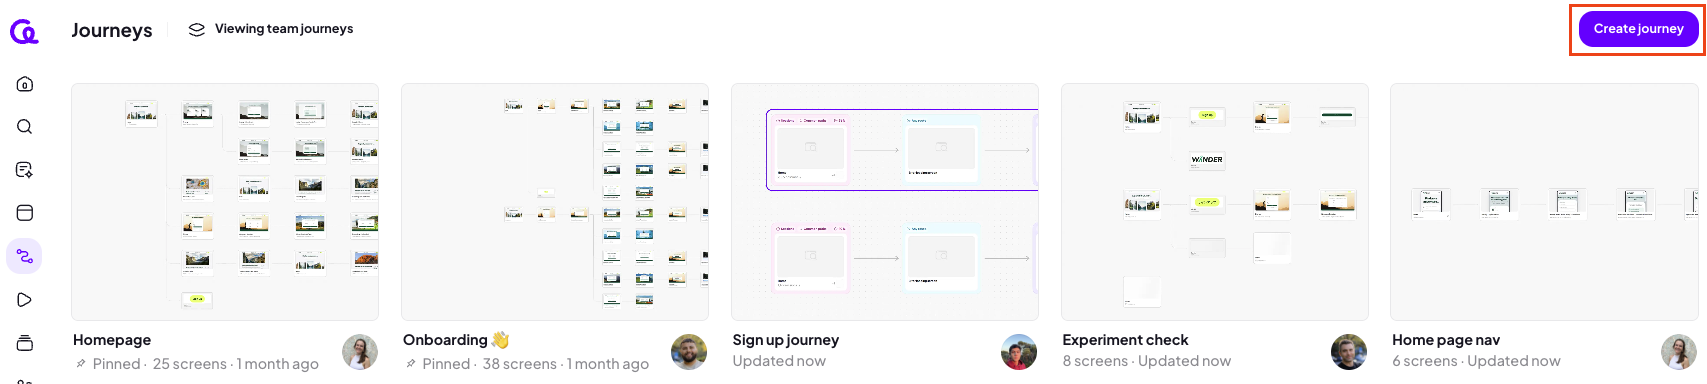
Create a journey
Pick your starting point
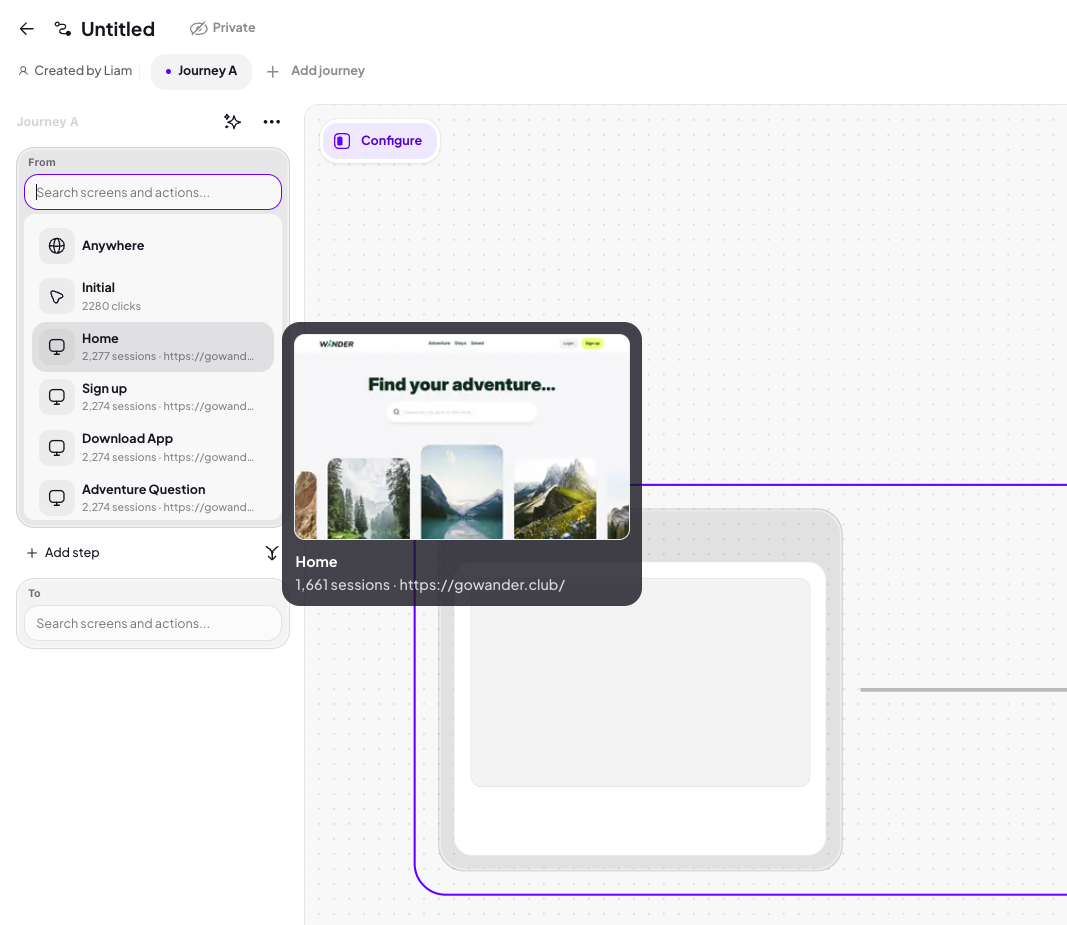
The builder starts by asking you to pick your first screen or action.
Search for the screen or action you want to start from — for example, your home page.
Hover over a screen in the search results to preview its thumbnail. Previews are available for screens, not actions.
Click the screen to start your journey from there.
Choose where the journey ends
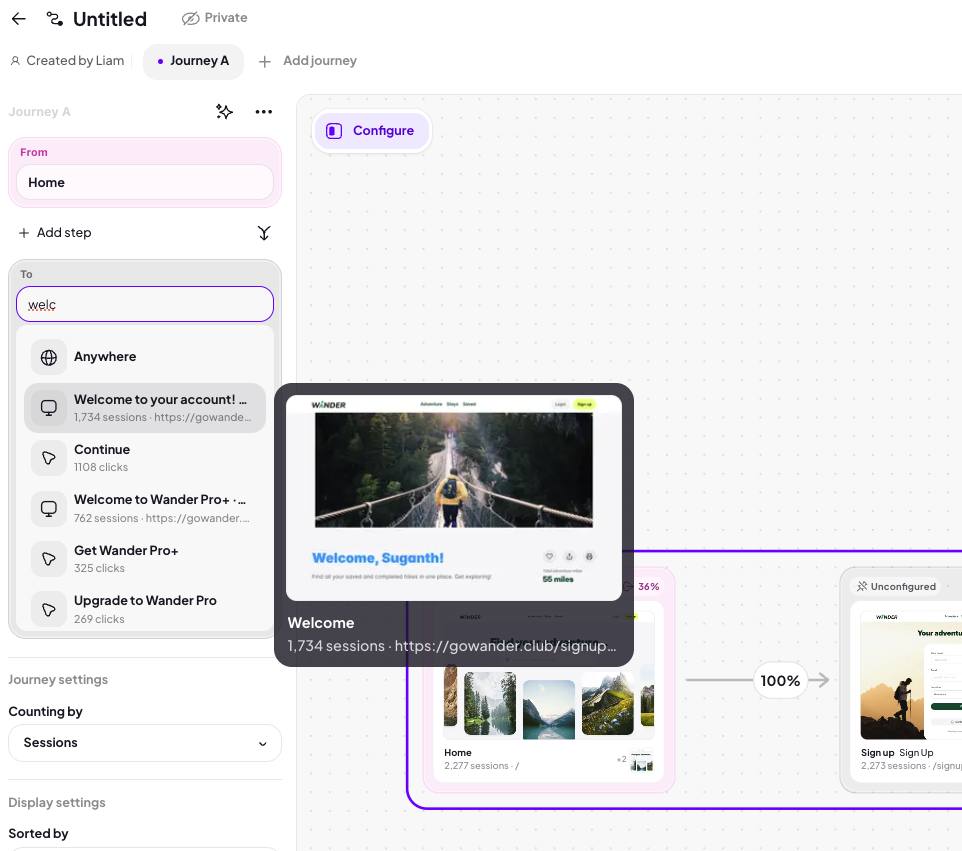
Next, the builder asks where the journey goes to. This is the end of the journey, not the next step after your starting point.
For example, to see how people get from your home page to your login screen, set the home page as the start and the login screen as the end. Adora then maps the journey between them, showing the paths users actually took.
Add steps to your journey
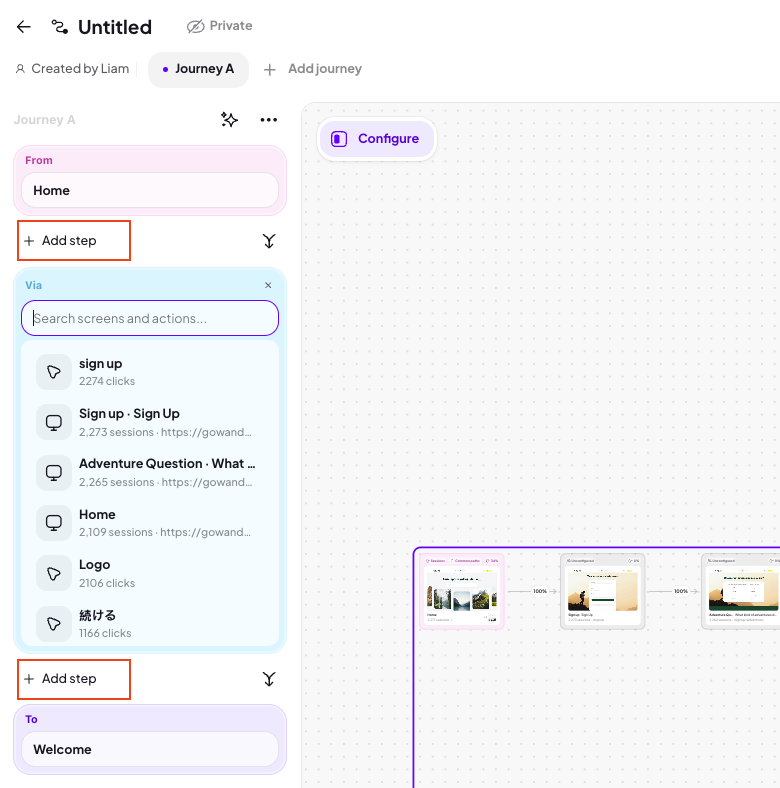
To require the journey to pass through a specific screen, click Add step and choose the screen. It's added as a step between your start and end points.
For example, adding your About Us page between the home page and login changes the journey to: home page, via About Us, to login.
Journey settings
Once the journey is mapped, the journey settings appear. You can:
Count by sessions, users, or views.
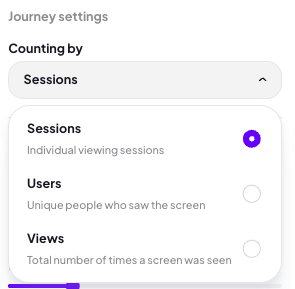
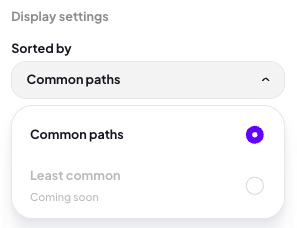
Sort by common paths. Sorting by least common paths is coming soon.
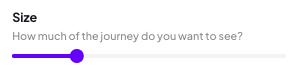
Adjust the size of the journey using the sliders. As you expand them, the journey reveals more of the paths and steps people took between your start and end points.
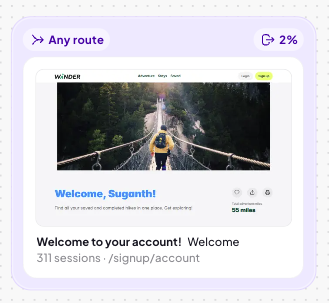
Path settings: Any route vs. Direct
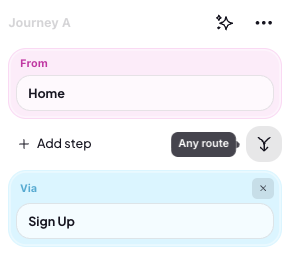
Between each step, you'll find the journey path settings:
Any route shows every path users took between the two steps, even if they visited other screens along the way.
Direct shows only users who went straight from one step to the next.
For example, with Any route set between your home page and About Us page, a user who went from the home page to a case study, then to pricing, and eventually to About Us is included. With Direct, only users who went straight from the home page to About Us are included.
Unconfigured screens
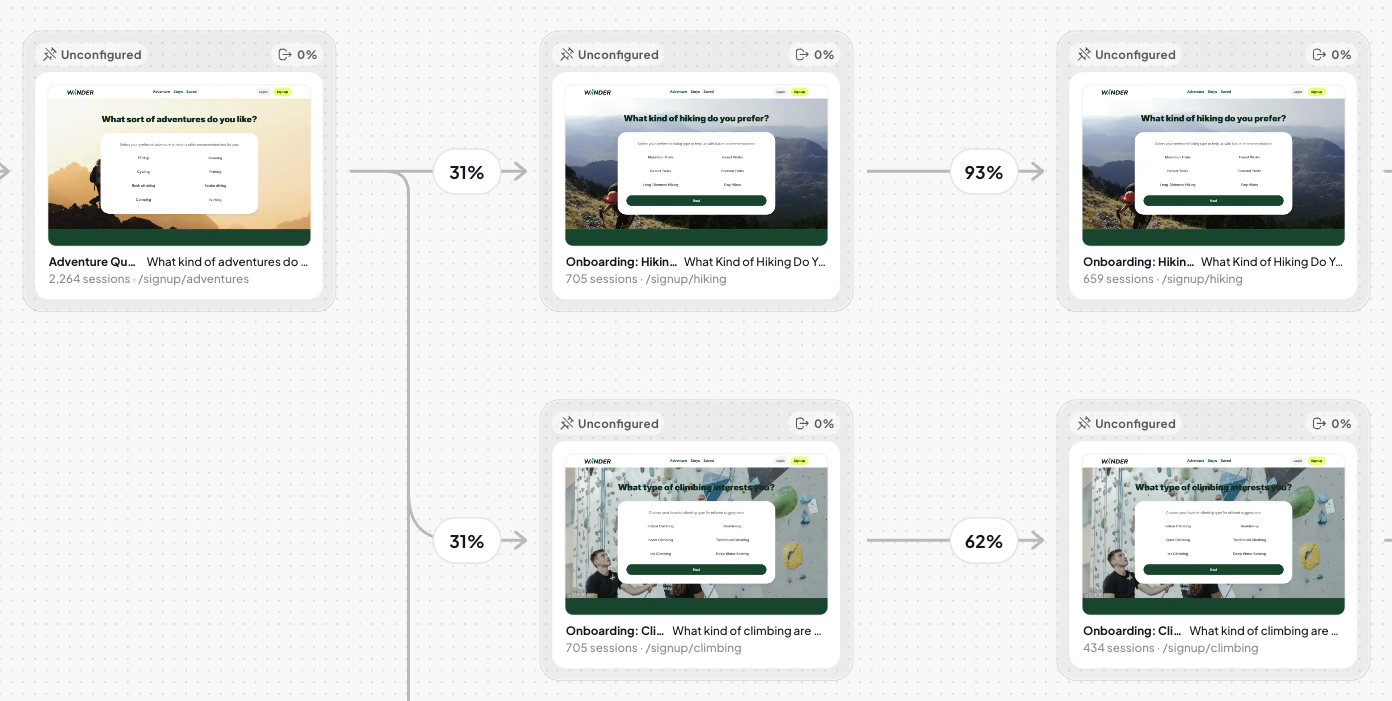
Some thumbnails in your journey appear gray with an Unconfigured label in the top-left corner. Unconfigured doesn't mean something is broken — it means the screen is dynamic.
You'll usually see unconfigured screens on paths set to Any route. Because journeys are built from real user sessions, the screens between your steps aren't set in place — they can change over time as user behavior changes.
If you click an unconfigured screen, it's added to the journey as a step, which guarantees it's included in the journey. Leaving it unconfigured is perfectly fine.
Screen previews, URLs, and sessions
On any screen thumbnail in the journey, you can:
Hover over the URL to see the screen's URL.
Preview the screen.
Watch sessions from that screen.
Viewing drop-off
Drop-off is shown at every step of the journey in the top right hand corner.
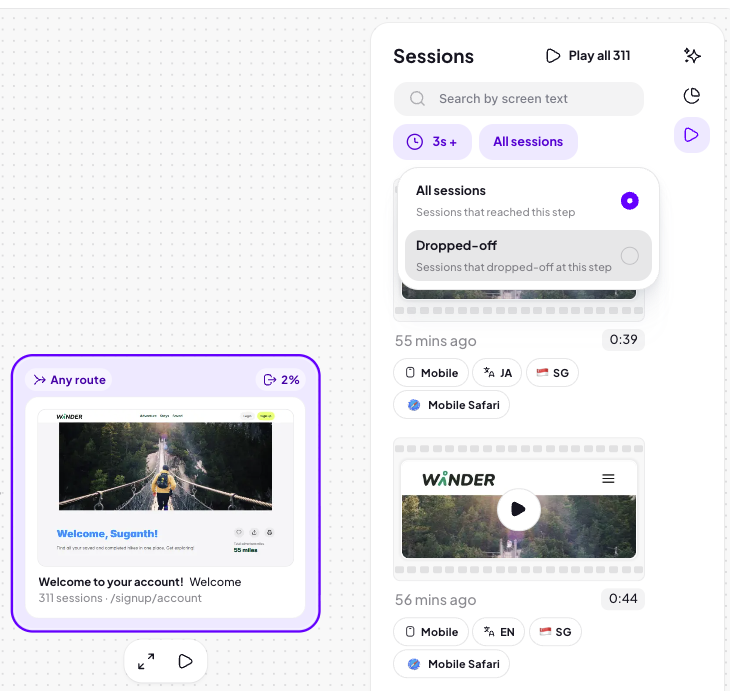
When you click View sessions on a step, use the filter in the top-right corner to switch between All sessions and Dropped off, so you can watch exactly where users left.
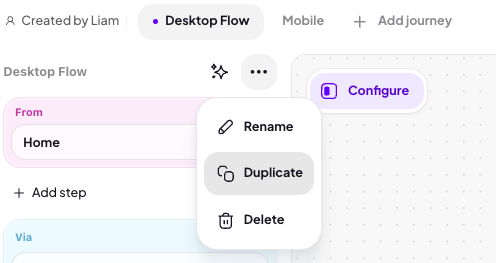
Name, duplicate, and compare journeys
Once you're happy with your journey, give it a name.
You can also duplicate it, which creates an identical journey underneath.
At the top, you'll see tabs for each journey on the map. You can apply different properties to each tab to filter the journeys independently. For example, filter Journey A to desktop and Journey B to mobile — the filter only applies to the tab you set it on.
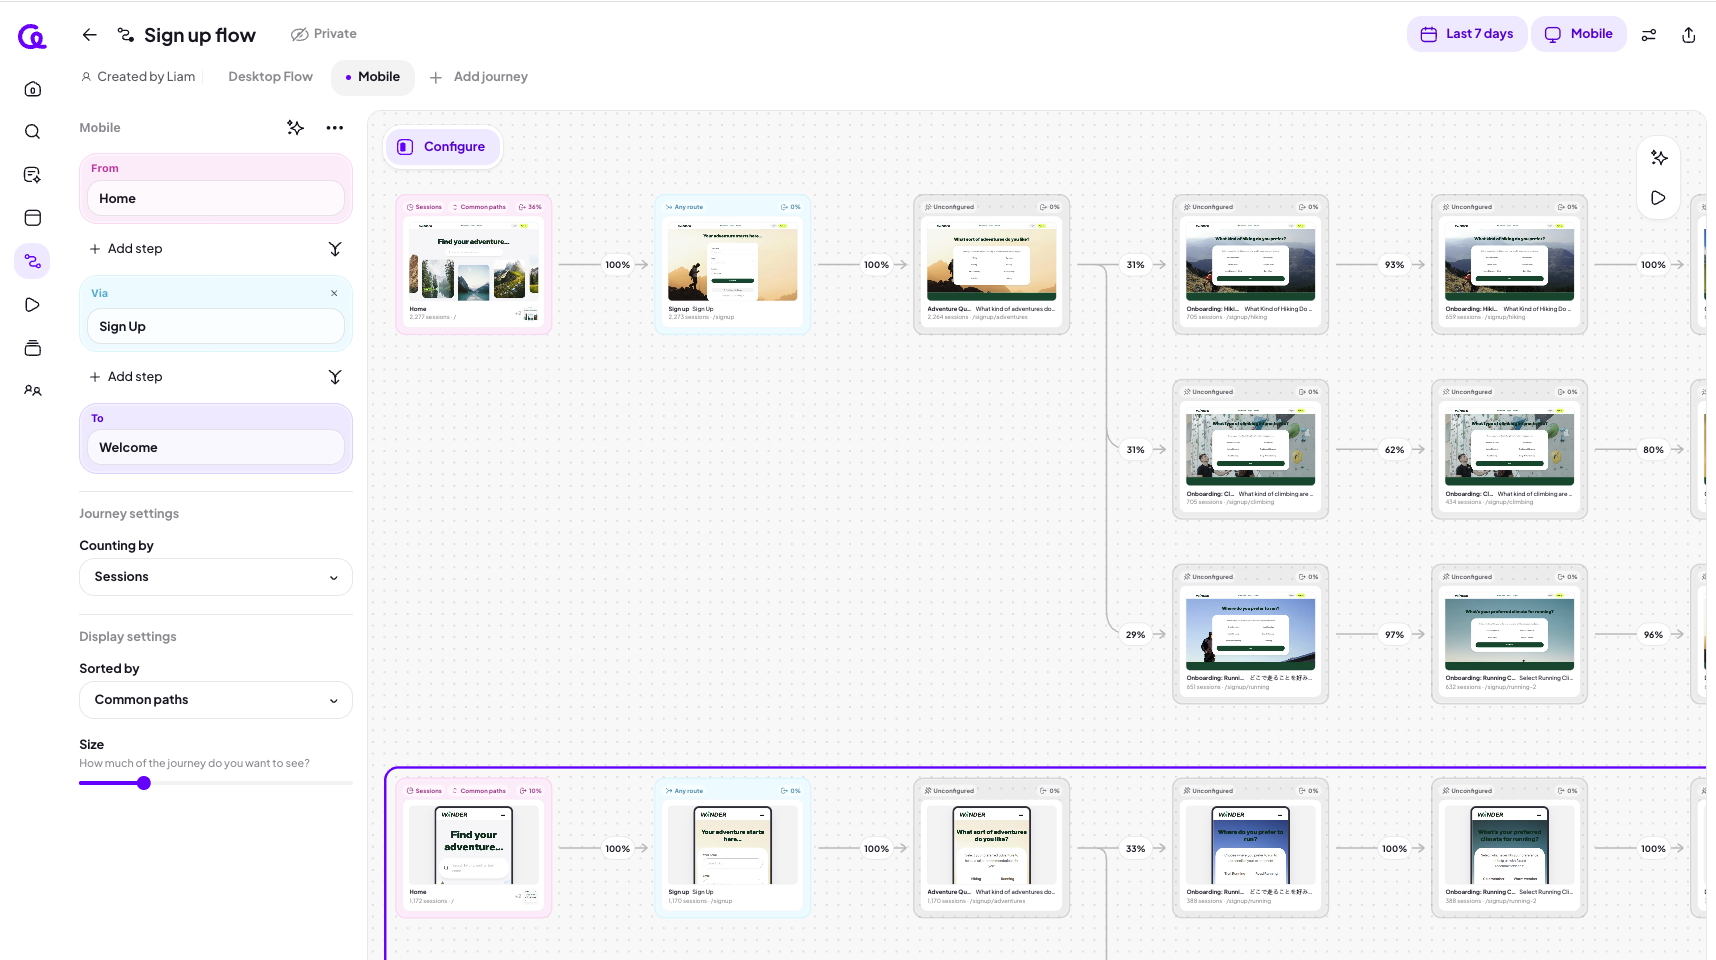
This is useful for comparing the same flow across countries, devices, or any property — both the properties you pass to Adora and the default properties Adora captures out of the box.
Sharing and filters
Journeys are private by default. You can change a journey to shared so the rest of your team can access it, as well as embedding it into a Notion or Confluence document.
Insights and session replays
Click on a journey to open the insights panel on the right-hand side. It shows insights relevant to the screens on your journey (not insights for the journey as a whole).
The Sessions tab lets you watch replays of users who made it all the way through the journey.